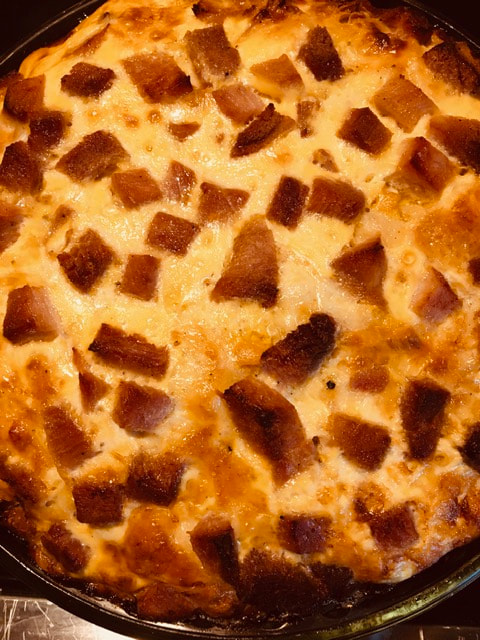
 A recent farm to table dinner of a Sunday ham turned into a ham quiche the next morning. Our farm raised ham's, processed by Del Fox Meats, Stanwood are cured/smoked to perfection! When you order 1/2 or whole hog from us you can have the ham cut down into smaller sizes. I always have ours cut into quarters. It's plenty big enough for dinner, making breakfast the next morning and lunch that day for the two of us!
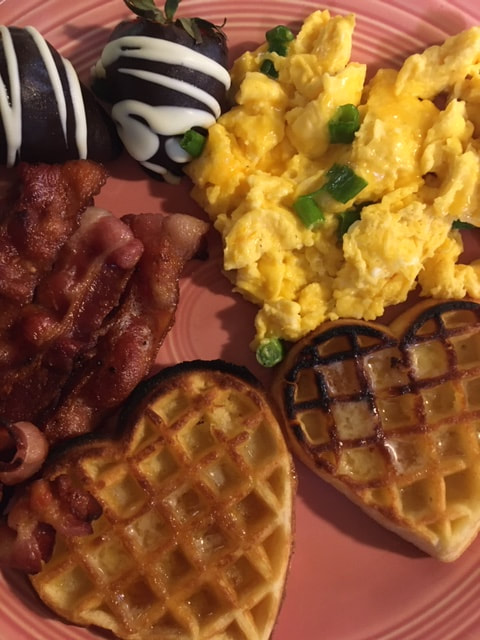 We take our pork seriously around here! Valentine's Day breakfast for farmer Jay, showing him some love! Our pork is processed by Del Fox Meats, Stanwood and it is SO delicious! Oink, Oink!
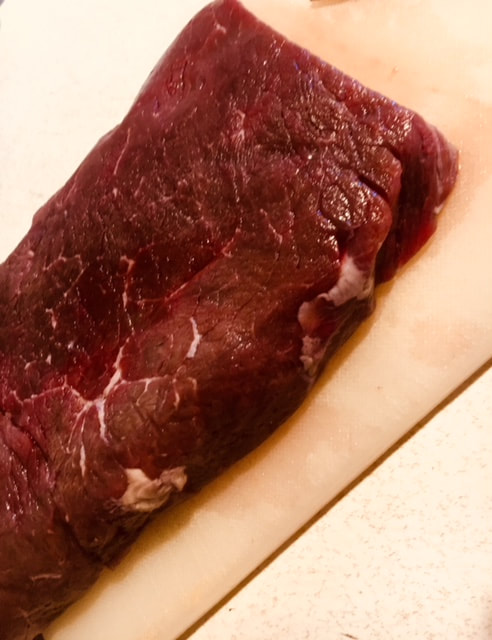 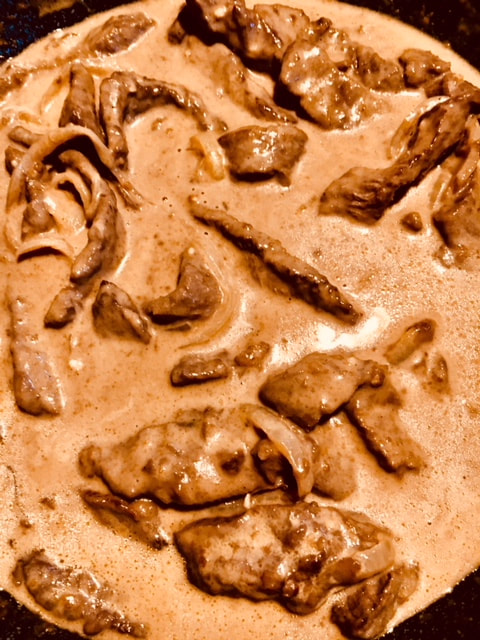 A chilly late winter light storm again in our area made me crave some good old fashioned comfort food! I thawed out one of our 100% grass fed beef top round, and while still partially frozen, (makes it easier to slice), sliced it across the grain, sprinkled it with salt and pepper, added some balsamic vinegar, about a Tbsp., mixed it up to cover the beef, added 3 Tbsp. corn starch to dredge and then a couple Tbsp. of water. In a little olive oil, I cooked one sliced onion and after tender added about 2 Tbsp. of chopped garlic, after the onions are tender and cooked for another couple minutes. Turned up the heat to high and added the beef mixture, not cooking it all the way through, just searing until sealed, Once it's seared, remove the beef and onions to another platter, leaving all the juices and bits in the pan, add a Tbsp. of unsalted butter, after it's melted add in about a Tbsp of flour and cook until it's slightly brown, a minute or so. I poured in 1 1/2 to 2 cups beef broth and brought to a boil. I usually use white wine and reduce the broth by 1/2 cup, but didn't have any, imagine that! Turn down the sauce to medium heat and reduce, about 5 minutes. Stir in 1/2 cup heavy cream and a couple tsp. of lemon juice and bring it to a simmer. Add the beef and onions back to the pan and heat through. I sometimes add a little sour cream when adding the cream, if you want a little thicker sauce. I served our Stroganoff last night over egg noodles and a little side salad. Enjoy!
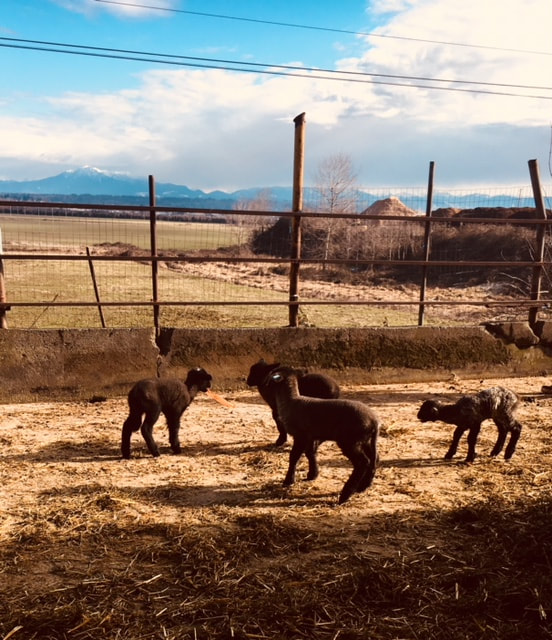 Lambing season started this year on Super Bowl Sunday 2019! These gangsters were out enjoying the sun yesterday on the farm! Always a fun time on the farm! The sheep shearer's daughter came to the farm yesterday and while her mom was shearing sheep one of the lambs came right up to the girl and sat in her lap for about 1/2 hour. I wish I was there to see it and take a photo!
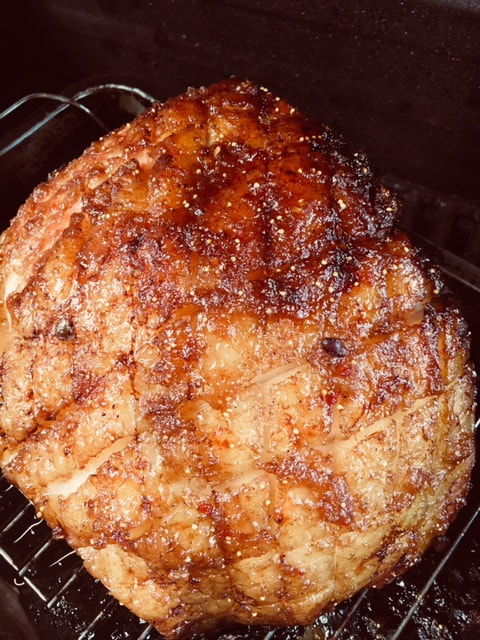 Last Sunday was an all cooking day! I started by scoring one of our pasture raised hams and making a glaze of "refrigerator ingredients". About a cup and a half of our homemade applesauce, a 1/4 jar of pepper jelly, some ground ginger, some soy sauce (I used Amino acids), about 1/2 small jar of fig/orange spread, heated it up in a sauce pan and painted about 1/2 of it on the outside! I didn't have any whole cloves, but that would have been perfect in between the scores! I put it on the bbq, low and slow and in 4 hours at about 250 it was up to temperature! Sunday night was a ham dinner of sliced ham, a cheesy potato dish I made, and fresh roasted root vegetables. Monday morning was ham and cheese omelette breakfast. Dinner Monday night was ham dip sandwiches, using French rolls, and piled high ham (heated through after wrapping with tin-foil and sweet potato fries. There is still another meal or two left of this ham...I'm thinking split pea soup!
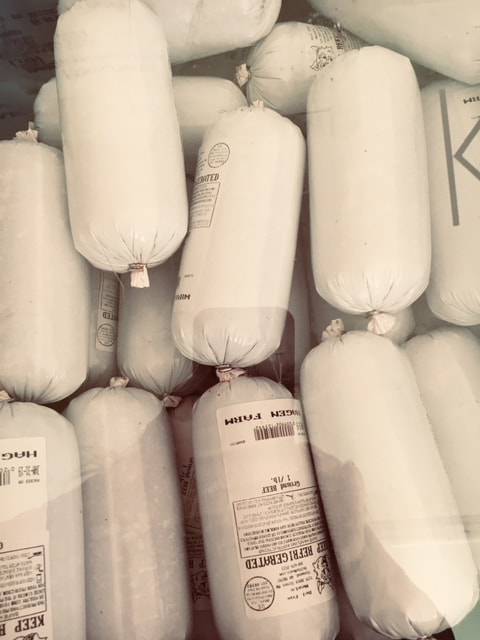
OUR NEXT BUTCHER DATE HAS BEEN SET FOR APRIL 25, 2017! Our all natural, 100% grass fed beef is $4.00 lb., hanging weight, plus processing. Beef splits evenly down to 1/4, so you can order 1/4, 1/2 or whole. Discount on meat is offered if we get a whole beef order at one time. Go in together with 3 others, neighbors, friends, family, co-worker and order 1 whole beef to receive the discount on the meat. You can all still have your order custom cut separately. This can be 4 1/4s, 1/2s etc...as long as it is one whole ordered. The beef dry age hangs at our butcher shop for 10-14 days before it is custom cut/wrapped according to your instructions. Our all natural pork is $4.00 lb., hanging weight, plus processing. Pork is available by the 1/2 or whole. Pork processing time is 7-10 days, to allow for curing/smoking of the bacon and hams. The other cuts are cut before then. You choose your custom cut/wrap, using our butcher's processing sheet. Our all natural, grass fed lamb is $6.00 lb., hanging weight. The lamb is also available by the 1/2 or whole animal. There is no "hang" time on lamb, so it just depends on what day they cut/wrap, after butcher date. The lamb processing sheet is also available on our butcher's web page. We use Del Fox Meats, Stanwood. There is always wiggle room on processing of the lamb, pork and beef! You can customize it however you wish. I always remind people to ask for the alternative if there is a cut you don't prefer. Having your freezer stocked with local beef, pork and lamb, that is raised naturally and conscientiously, and humanely butchered is comforting. Knowing it is void of any chemicals, such as hormones, fillers and antibiotics is equally as comforting. I incorporate fish, chicken and vegetarian meals into our diets weekly as well. However, having lamb, pork and beef, that we know every day of their life, what they ate, how they were treated, the cleanliness of the areas they are raised in, is a real relief, knowing what we are consuming! I'm a big foodie and find that having all the cuts of meat, at my disposal, makes me even more creative in my cooking! Food brings people together and is something that can be shared with children as well as among adults, in not only knowing where your food comes from when you buy locally raised meats, but is fun to come up with creative and constantly searching or making up my own recipes for our meats! I relax by cooking, and find it hugely satisfying when I put a meal out for friends and family (or even just for Jay and I), that I know is healthy (ok not always :)...but most of the time. I try to make healthier versions of the comfort foods we all love. But sometimes you have to just go for it! 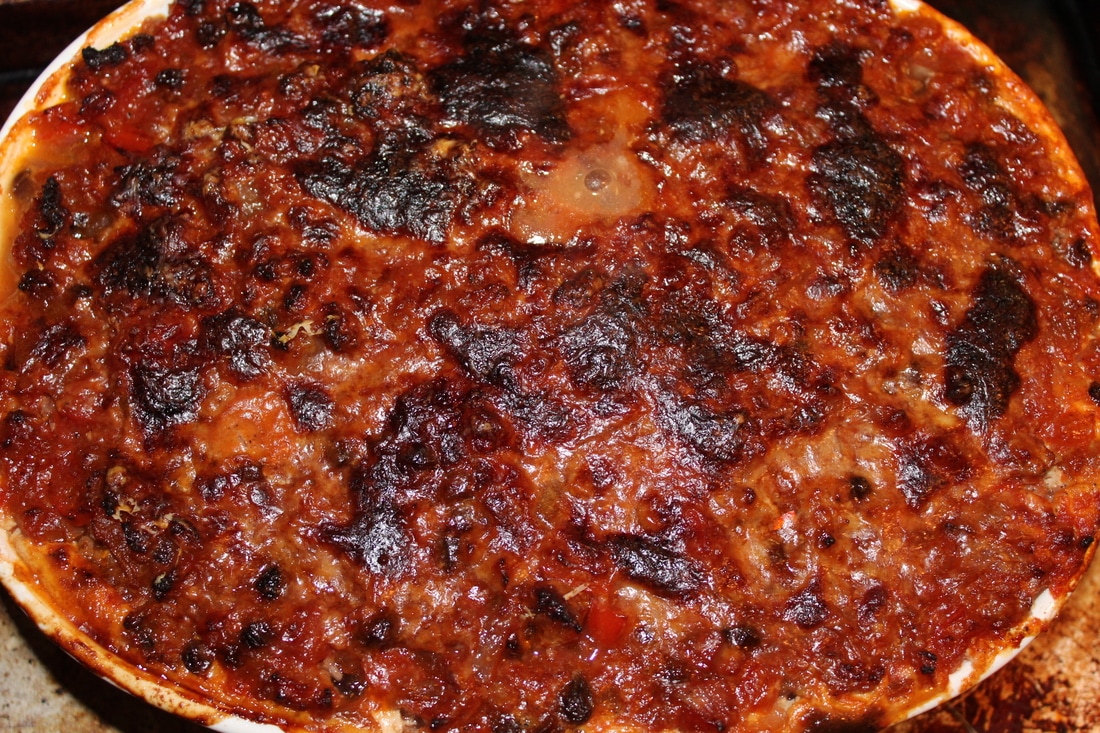 I love to try making new foods, from different cultures! This Moussaka I made here was SO delicious! I used our ground lamb to make it. It was a really traditional Greek recipe, with lot's of spices, eggplant, etc...It was quite a feast for your eyes, and palate!
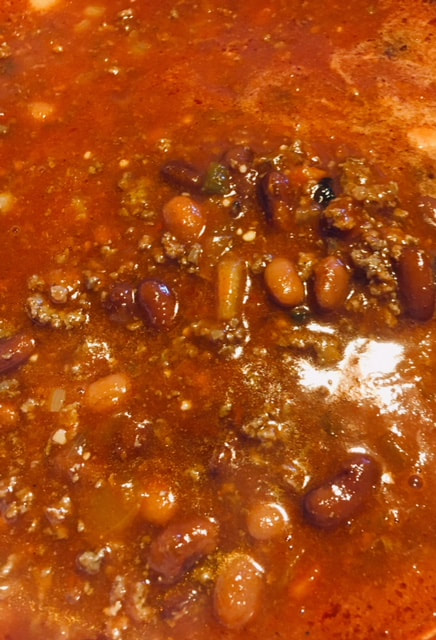
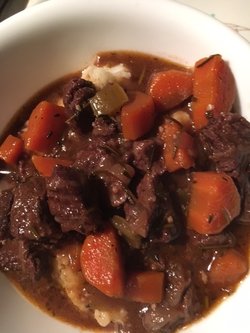 This cheek meat stew, shown here, was inspired by Jay's grandmother Minnie. He told me stories of how she would come from Seattle every weekend, where she and his grandfather lived and owned a lamp shop. She would make the family Oxtail stew. I do the same now for Jay. This particular stew is made from the cheeks of the cow, but I use pretty much the same basic recipe when I make him Oxtail stew! I make my own beef stock a few days before, if I don't have any frozen, and add that to the stew, along with almost a bottle of red wine (I may or may not drink the rest :)...I like to think I am both using all parts of the animal, and respecting that it gave it's life for us as well as carrying on a tradition from Jay's grandmother!
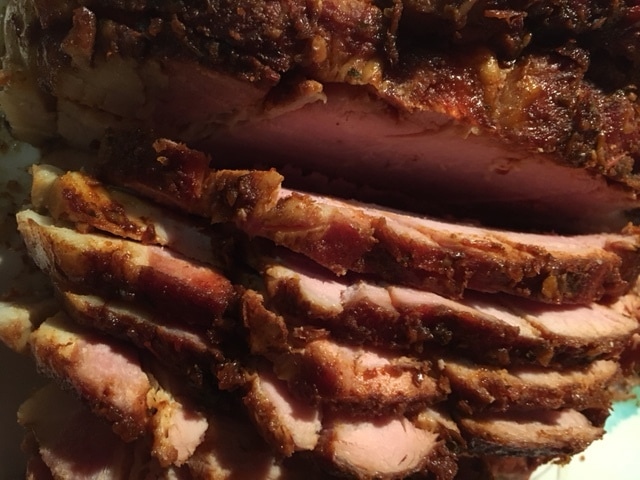
  Some of my most .treasured things are the passed down, hand written recipes from various family members. Every time I pull out the card or paper they are written on, I think of the person who passed the recipe down. I will definitely leave these for my girls and my grandkids! Earlier this week, I put one of our all natural, smoked/cured hams in our smoker in the late morning. I just scored it, don't cover it, and let it heat through low and slow. By afternoon, it was ready. I pulled it out and brushed it with a sticky sauce, also homemade, by Will Zeober, covered it with tinfoil and let it sit while I made the hot sauce recipe that was handed down by my daughter's grandmother. I have fond memories of going to their farm and having these sandwiches and I still make them! The Carlson farm was in Mill Creek, just minutes from our farm. Unfortunately, it has long been developed, but I can still see the driveway entrance when I drive by and it brings back a lot of good memories!
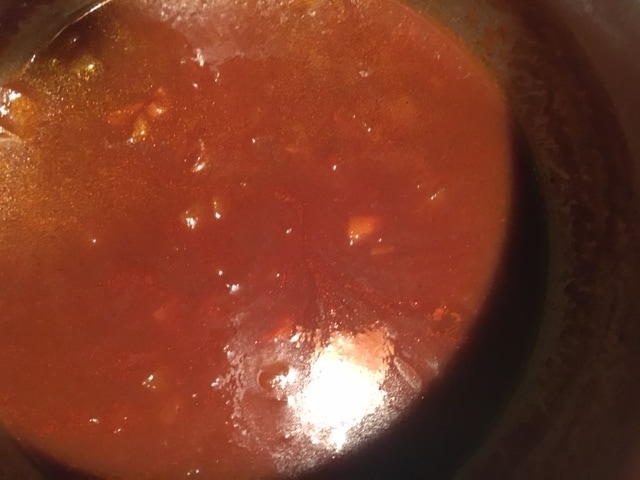
Dipping sauce....from our farm to your family~ 1 cup ketchup 2 cups water 1 tsp salt 1 tsp chili powder dash of tabasco sauce 1 medium chopped onion 1/3 cup Worcestershire sauce Give it a good stir, bring to a boil then lower temperature and simmer for 30 min. I use this sauce for both ham dip sandwiches and beef dip sandwiches. I use a hard French roll hoagie, as it holds up better when dipping. I like to butter each side, sprinkle with a little Johnny's seasoning and put under the broiler for a few minutes to get a nice golden brown. |
Barbara's Blog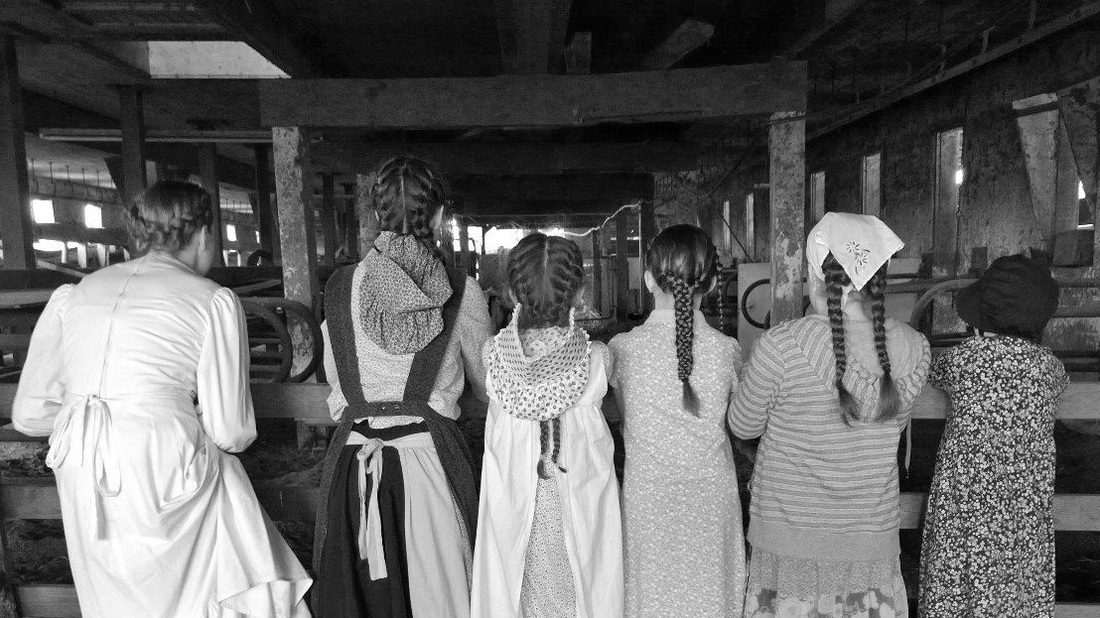
City born and raised, now living among the corn maze. I don't profess to be an expert at anything, but I hope you enjoy what I have learned along the way and landed right where I love...this farm!
Archives
March 2022
Categories |
 RSS Feed